 Author :
Have you ever wanted to create a digital badge that truly stands out and captures attention? Whether you’re an educator, business leader, or event organizer, crafting a unique digital badge can make a significant impact.
In this guide, we’re diving into the world of Canva’s Digital Badge Maker. You’ll discover how to design badges that not only look impressive but also resonate with your audience. From choosing the perfect template to customizing every detail, we’ll walk you through the process step-by-step. Plus, we’ll share expert tips to ensure your badges are not just eye-catching but also effective.
Ready to elevate your digital credentials? Let’s get started and make your badges unforgettable!
Introduction to Digital Badges
What Are Digital Badges?
Digital badges are virtual representations of achievements, skills, or credentials earned through various activities or learning experiences. They are designed to showcase accomplishments in a visually appealing way and are often used in educational, professional, and organizational contexts.
Each badge includes key information such as the badge issuer, the criteria for earning it, and the date it was awarded. This makes them a great tool for verifying skills and accomplishments online, providing a tangible representation of one’s capabilities.
For a more comprehensive overview of digital badges, including their functions and benefits, click here.
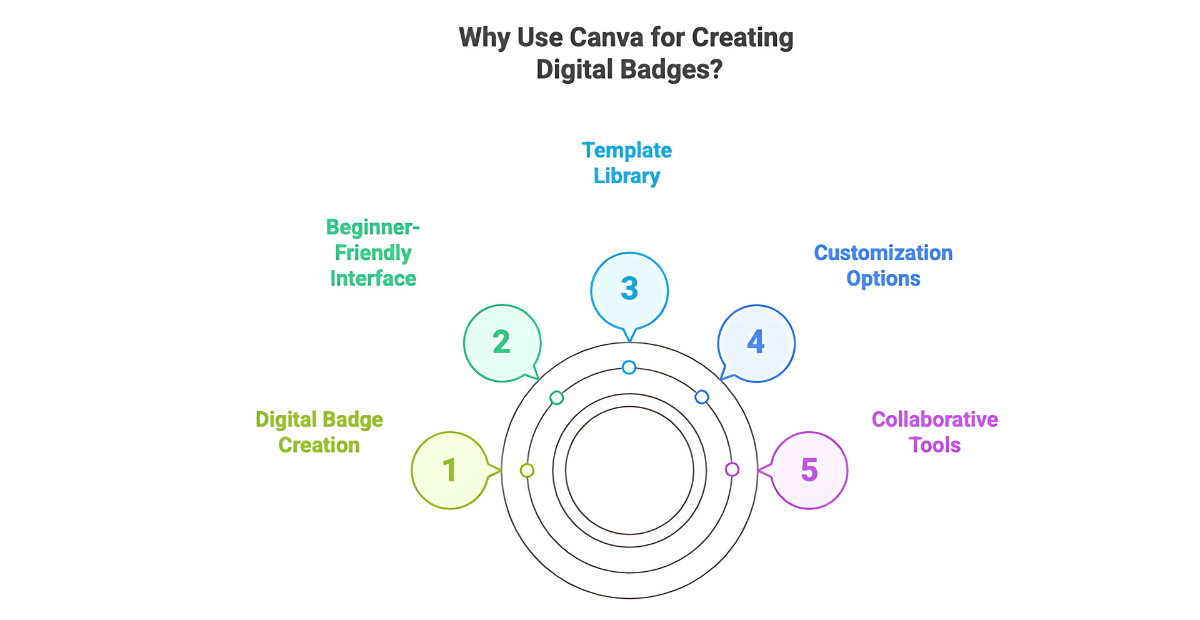
Why Use Canva for Creating Digital Badges?
-
Beginner-Friendly Interface: Canva’s drag-and-drop design makes badge creation simple and intuitive, even for beginners.
-
Extensive Template Library: Choose from a wide range of badge templates, easily customizable to match your specific needs and style.
-
Robust Customization: Adjust colors, fonts, and graphics effortlessly, using Canva’s extensive design elements to make your badge unique.
-
Rich Design Options: Access a variety of stock photos, icons, and illustrations to enhance your badge and give it a professional edge.
-
Collaborative Tools: Work together with others in real-time to streamline the design process and ensure your badge meets all requirements
How to Access Canva’s Badge Maker
Getting started with Canva’s Badge Maker is straightforward and quick. Follow these simple steps to dive into designing your digital badge:
-
Log In to Canva: Open Canva and log in to your account. If you don’t have one, sign up for free.
-
Search for Badge Templates: Use the search bar on the homepage and enter “Badge Logos.” This will bring up a range of badge templates.
-
Browse and Select: Explore the templates and choose one that fits your needs. Click on your chosen template to start customizing.
-
Start Designing: Begin personalizing your badge by adjusting the template to suit your design vision.
For a more detailed visual walkthrough of this process, click here.
Navigating Canva’s Badge Design Interface
Ready to get acquainted with Canva’s design tools? Let’s explore the essential features of Canva’s badge design interface to ensure a seamless and efficient design experience.
1. Design Workspace
Once you select a template, you’ll land in Canva’s design workspace. This is where you’ll see your badge and make changes.
2. Tools Menu
The Tools Menu on the left is your creative toolkit:
-
Elements: Add shapes, lines, icons, and illustrations to your badge.
-
Text: Choose from a variety of fonts and styles to add headings, subheadings, and body text.
-
Photos: Access Canva’s library of images or upload your own to enhance your design.
-
Background: Select or customize backgrounds to make your badge visually appealing.
-
Uploads: Upload your own images or logos for personalizing your badge.
3. Central Canvas
The main area shows your badge template. Click on elements here to resize, move, or modify them as needed.
4. Top Menu
At the top, you’ll find options for changing fonts, colors, and backgrounds. Use these to adjust the look of your badge to match your preferences.
For a more detailed visual walkthrough of Canva’s design interface, watch this video.
![]()
Designing Your Digital Badge: A Step-by-Step Guide
Choosing the Perfect Template
Selecting the right template is crucial as it sets the tone for your badge. Canva offers a wide range of templates, making it easy to find one that aligns with your needs. Narrowing your search by purpose, color, and shape can lead to more precise results, ensuring your badge looks professional and polished.
Key Steps:
-
Search for Specific Purposes: Use keywords like “Employee of the Month Badge” or “Volunteer Appreciation Badge” to find templates tailored to your needs.
-
Refine by Color and Shape: Add filters such as “blue,” “round,” or “vintage” in your search to match your brand’s aesthetic or the event’s theme.
-
Consider Style and Layout: Look for templates with a layout that can accommodate all necessary elements, such as logos or text.
Customizing Your Badge Design
Customization is where your badge truly comes to life. Canva’s tools allow you to modify text, adjust fonts, and tweak colors to perfectly match your brand or personal style. The transparency feature is particularly useful for adding depth and layering to your design, making certain elements stand out or blend smoothly into the background.
Key Steps:
-
Edit Text Content: Replace placeholder text with specific titles or names relevant to your purpose, on the badge .
-
Adjust Fonts and Colors: Choose from a wide range of fonts and color palettes, so that the badge is customized to fit your branding.
-
Use Transparency: Apply transparency effects to create depth, especially for text overlays or background images, enhancing the overall design.
Adding Unique Elements to Your Badge
Adding distinctive elements can make your badge memorable and unique. Canva’s “Elements” section provides access to a plethora of shapes, icons, and illustrations. For a truly custom touch, use Canva’s AI image generation feature to create original graphics. If you’re a premium user, the “Remove Background” tool is invaluable for cleanly integrating images into your design.
Key Steps:
-
Incorporate Icons and Shapes: Add thematic icons or shapes from the “Elements” tab that align with the badge’s message or purpose — use thematic analysis to ensure consistency and relevance across design elements.
-
Use AI Generated Graphics: Use Canva’s AI image generator to create unique graphics that can’t be found in standard libraries to make your badge design truly original.
-
Remove Background: Utilize the “Remove Background” feature to give your badge a transparent background, allowing it to be resized as needed and exported in the ideal size, dimensions, or format.
By following these steps, you’ll create a digital badge that not only stands out visually but also effectively communicates the achievement it represents. Canva’s comprehensive tools and features make this process accessible and enjoyable, whether you’re a design novice or a seasoned pro.
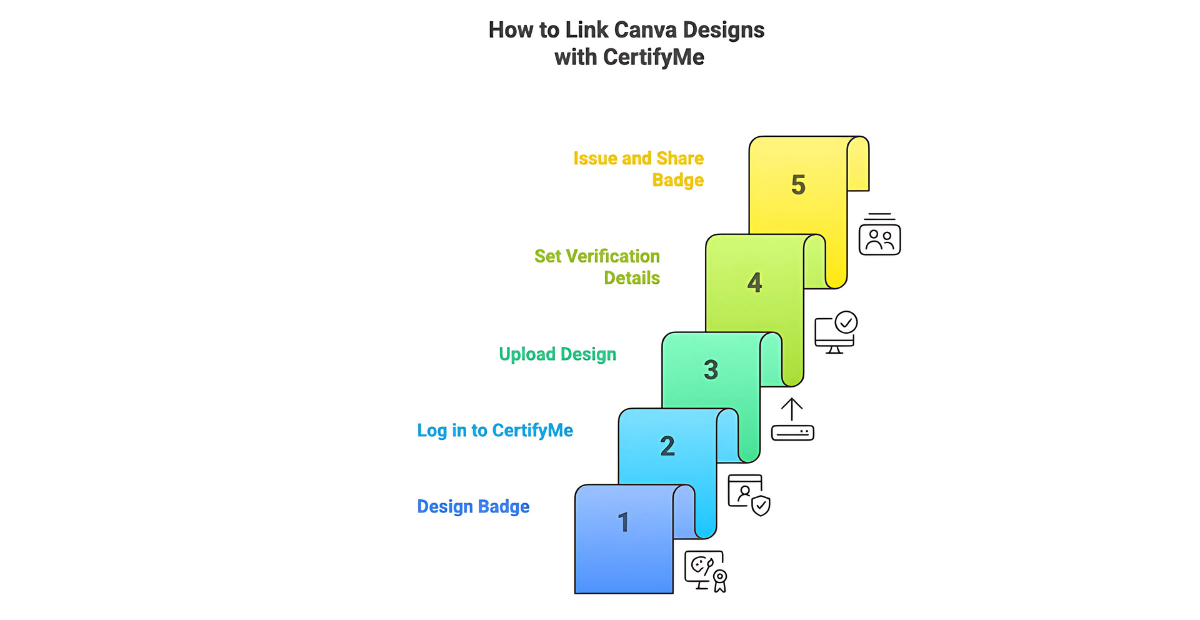
How to Link Canva Designs with CertifyMe
1. Create and Export Your Badge Design
Start by designing your badge in Canva. Once satisfied, export the design in a high-quality format like PNG or JPEG. Ensure your design meets the specifications needed for digital verification.
2. Log in to CertifyMe
Access your CertifyMe account or sign up if you haven’t already. Navigate to the “Design Template” on the left navigation bar and then edit your digital badge template.
3. Upload Your Badge Design
Upload your Canva badge design to CertifyMe in the “Edit your Credential Template Image” section under the Credential Template editor. Once the Badge Design is displayed as you want it, save the design for the template.
4. Set Verification Details
Define the details for verification such as the badge metadata, the issuer information and the validity period in the “Click to Update your Program Details” section. This step ensures your badges are both credible and secure.
5. Issue and Share Your Verified Badge
Once all details are set, issue the badge. You can then share it directly with recipients either individually or in bulk by uploading a CSV file with the information of all the recipients.
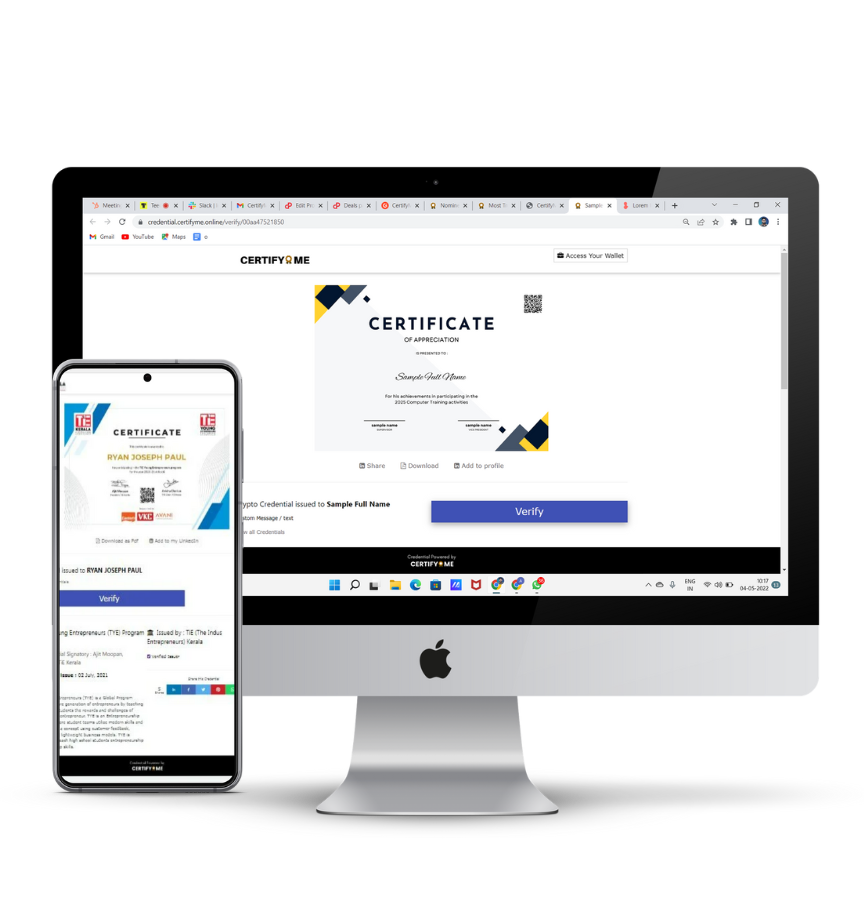
Benefits of CertifyMe
Enhanced Credibility
CertifyMe’s verification process adds a layer of trust, assuring recipients and viewers that the badge is authentic and awarded based on merit.
Increased Security
Digital verification prevents unauthorized use or duplication of your badges, protecting the integrity of your credentials.
Ease of Sharing
Verified badges can be easily shared across various platforms, from LinkedIn profiles to email signatures, increasing visibility and recognition.
Want to build a powerful brand presence? Learn more about using digital badges on LinkedIn to boost employer branding.
Comprehensive Analytics
CertifyMe provides analytics on badge distribution and engagement, offering insights into how your badges are being used and recognized.
Customization Options
Tailor your badge credentials to match your brand, with options for customizing issuer profiles and badge appearance.
Integrating Canva with CertifyMe not only enhances the visual appeal of your badge and makes it a designers choice, but also ensures they carry the weight of verified authenticity.
Conclusion
In this guide, we’ve explored how to create stunning digital badges using Canva, from selecting the perfect template to customizing and adding unique elements. We’ve also highlighted the importance of making your badges verifiable and credible through CertifyMe integration. These steps and tips not only help you design eye-catching badges but also ensure they are trusted and recognized across platforms.
For a complete approach to skill recognition, pair your digital badges with effective tools for training and certification programs that streamline learning and evaluation.
Now that you have all the tools and knowledge, it’s time to start designing! Whether you’re marking professional achievements or educational milestones, digital badges are a powerful way to showcase your accomplishments. Remember, integrating CertifyMe adds an extra layer of credibility, making your badges more valuable and respected.
Don’t miss out on the benefits of a verified badge. Sign up for CertifyMe for free today and start creating badges that stand out and get noticed!